
 This art is easy and super cheap to make. I love the how the 3D effect of weaving the cardboard pieces together really makes it pop. Although the design looked complicated, all you need are four cardboard U’s, glue, a utility knife, and paint.
 When creating a template for your cardboard U’s, keep in mind that the wider the U-shape is, the easier it will be to weave. Using a popcorn bowl for a guide works well.
 Trace and cut out one piece using the circle guides (I used the popcorn bowl for the outer circle and pan lid for the inner circle) and then make 3 more “U” shapes from the first piece. Once they are all cut out, it’s time to weave them together. This can be a little bit tricky, but you can do it.
 If you look at the design, you will see how they are woven together. Start with opposite sides. One “U” will go over the top of the other “U” and under the bottom of the other “U”. Then the third “U” weaves over one side “U” and under the other side “U”. The fourth “U” weaves over-under-over-under the other three, to complete the design.
 Once your pieces are woven together, you can pull the ends out to secure the design. You will want to glue the ends to connect them. Hot glue works very well for this kind of project, and again, you’ll want to start with opposite ends. Be sure one side is cool before gluing the opposite sides.
 Once your design is intact, you can paint it! You can use green spray paint to give it a nice, even coat for a base. For the finishing touch, add a little gold metallic paint around the edges to accentuate the overall look. Whalah! Ready to dance a little jig? Me too!
 Art is about doing what you like, experimenting, and having fun. Feel free to use this idea, but if you get a better one along the way, take the risk and invent it!
 Happy St. Patrick’s Day, Inventor!
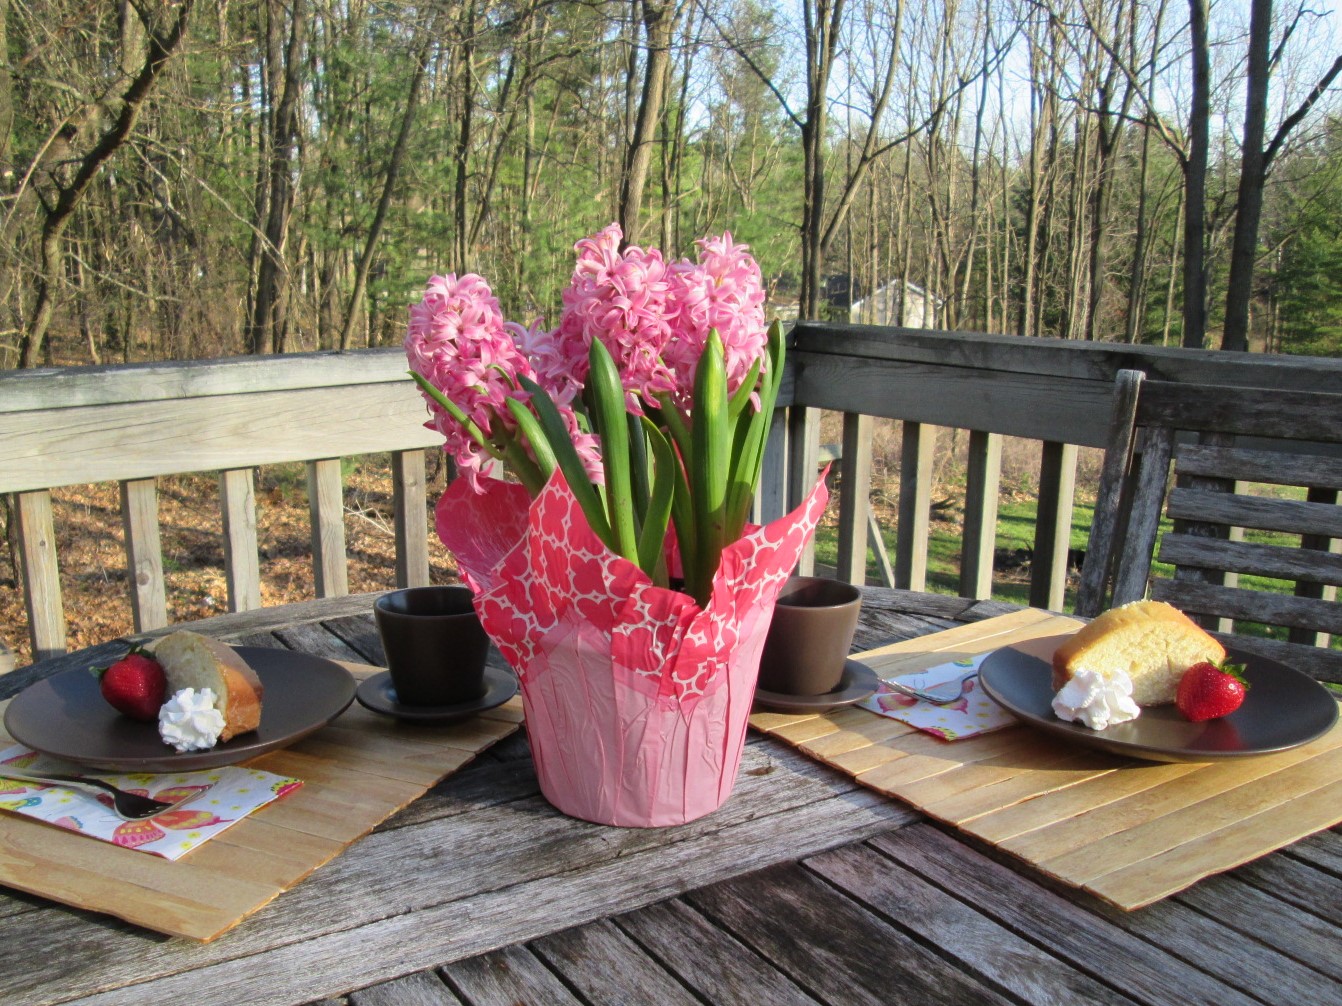
Welcome Inventors! The weather is warming up and we’re ready for fun times outside. After playing with paint sticks in my last post, I had an idea to make art out of them. But as I made the art, I thought: these could be cool placemats. And now they are both.
This is not inherently a kid’s project, but kids could easily help make the placemats. If your kids are too young to use a hot glue gun, they could decorate/paint/handprint them after they’re done. Or you can invent something new to share! ????
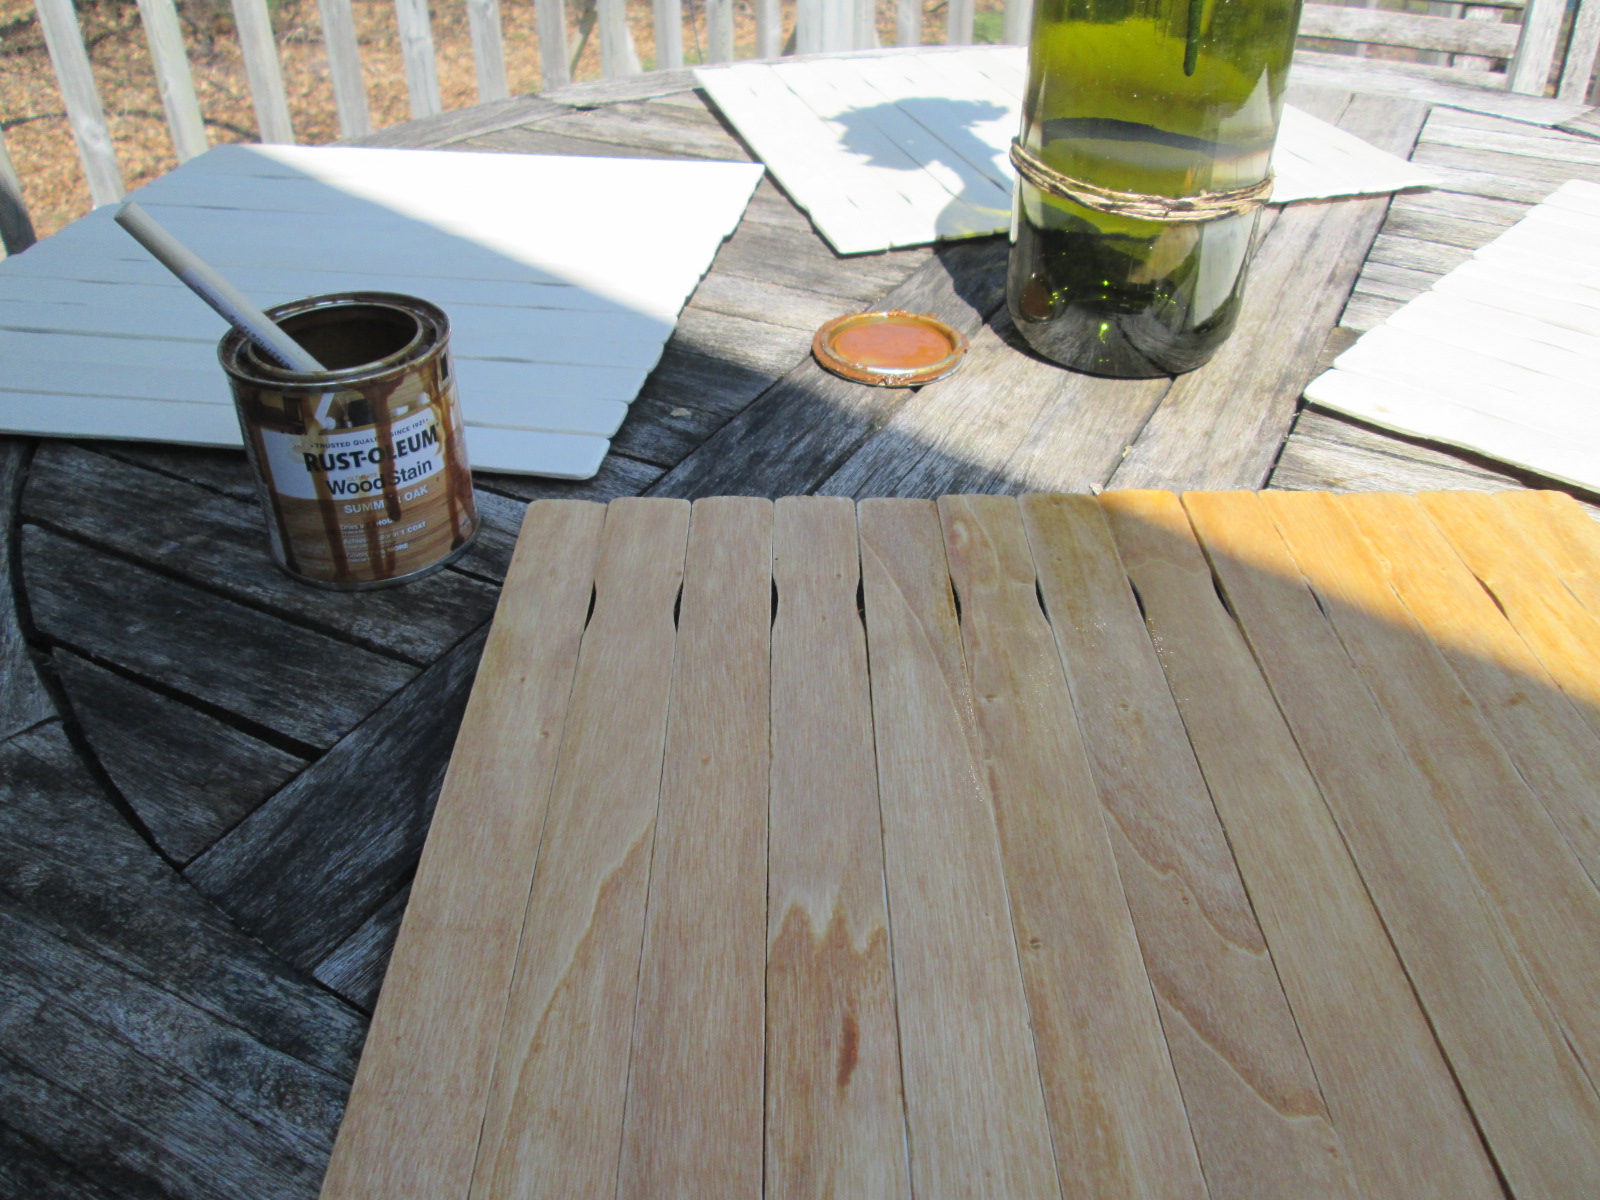
All you need for this project are 15 paint sticks, hot glue, and wood stain. It’s literally a 3-material project for pennies if you have leftover stain and hot (or regular) glue. I used a lot of hot glue.
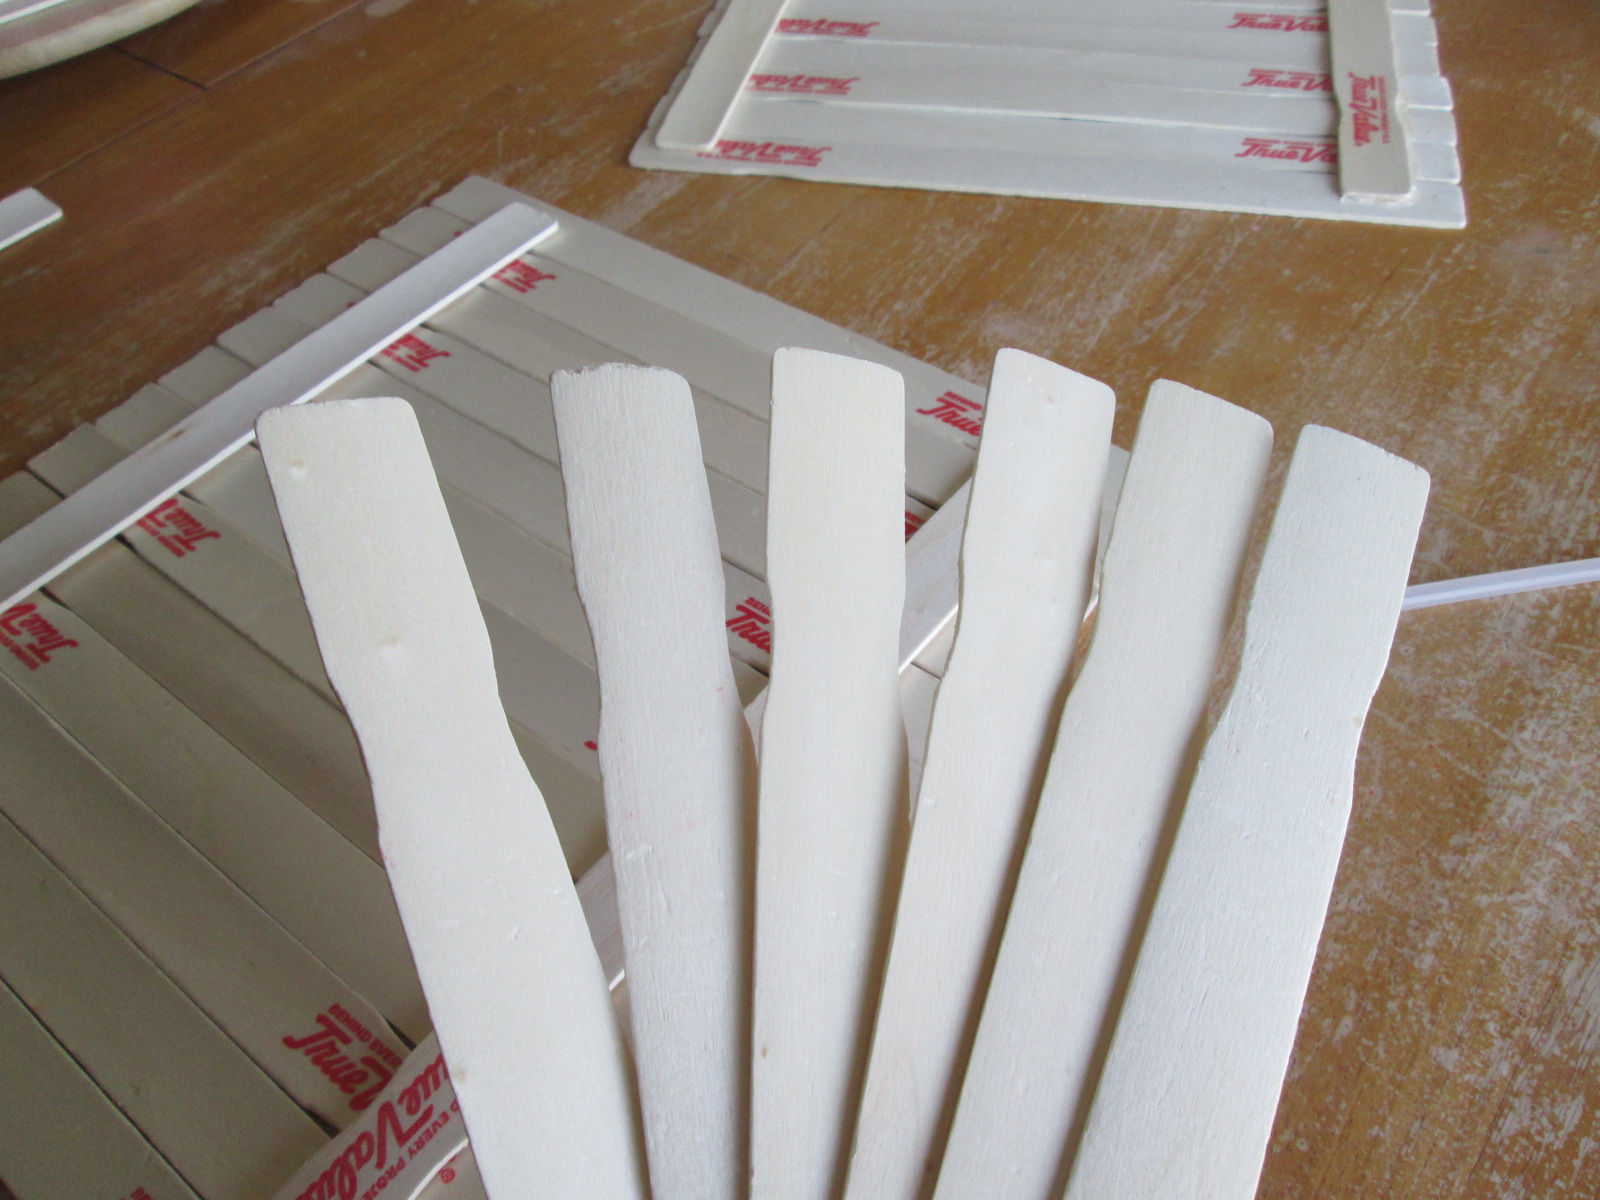
Step 1: Line up 13 paint sticks. Alternate the indented sides to create a kind of rustic pattern. If your paint sticks are printed on one side, make sure that side is facing the back.
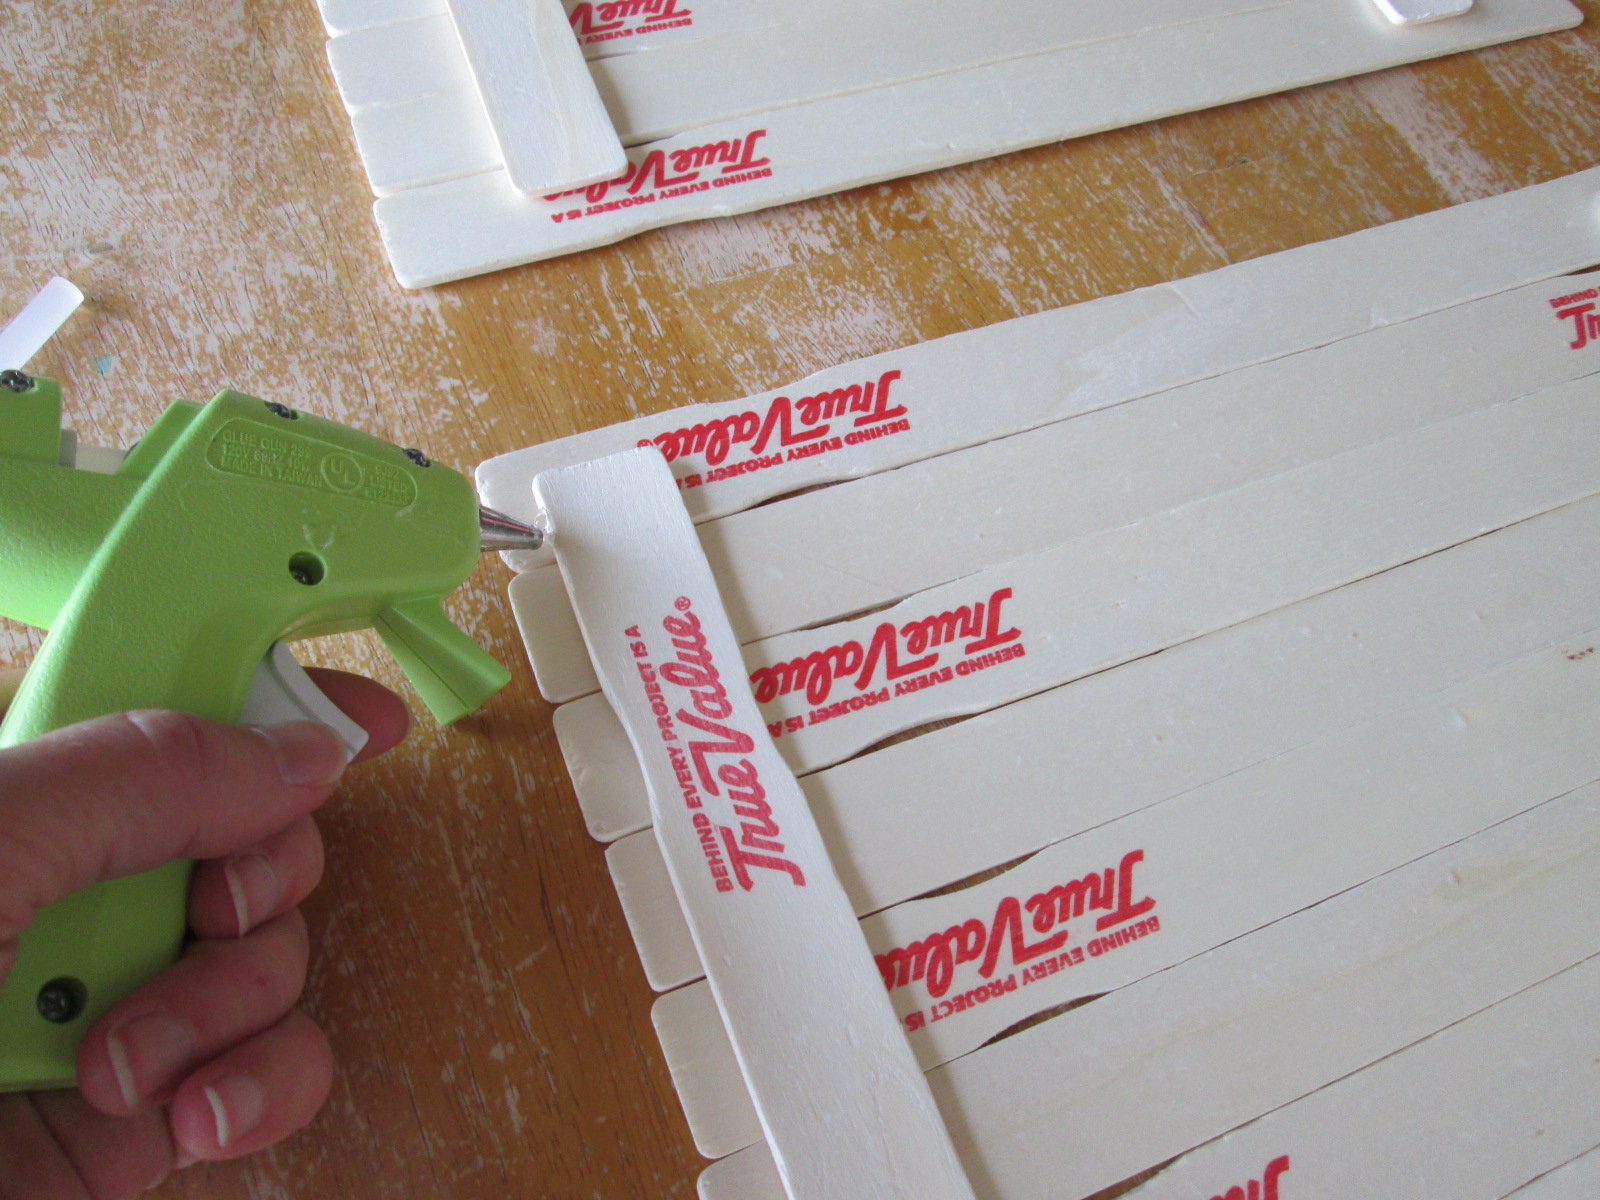
Step 2: Hot glue the 2 remaining sticks cross-wise to the back of the lined sticks. I put a strip of glue down across the lined sticks first, placed one cross-stick down, did the same to the other side with the second cross-stick, and then reinforced them with more hot glue along the top and sides.
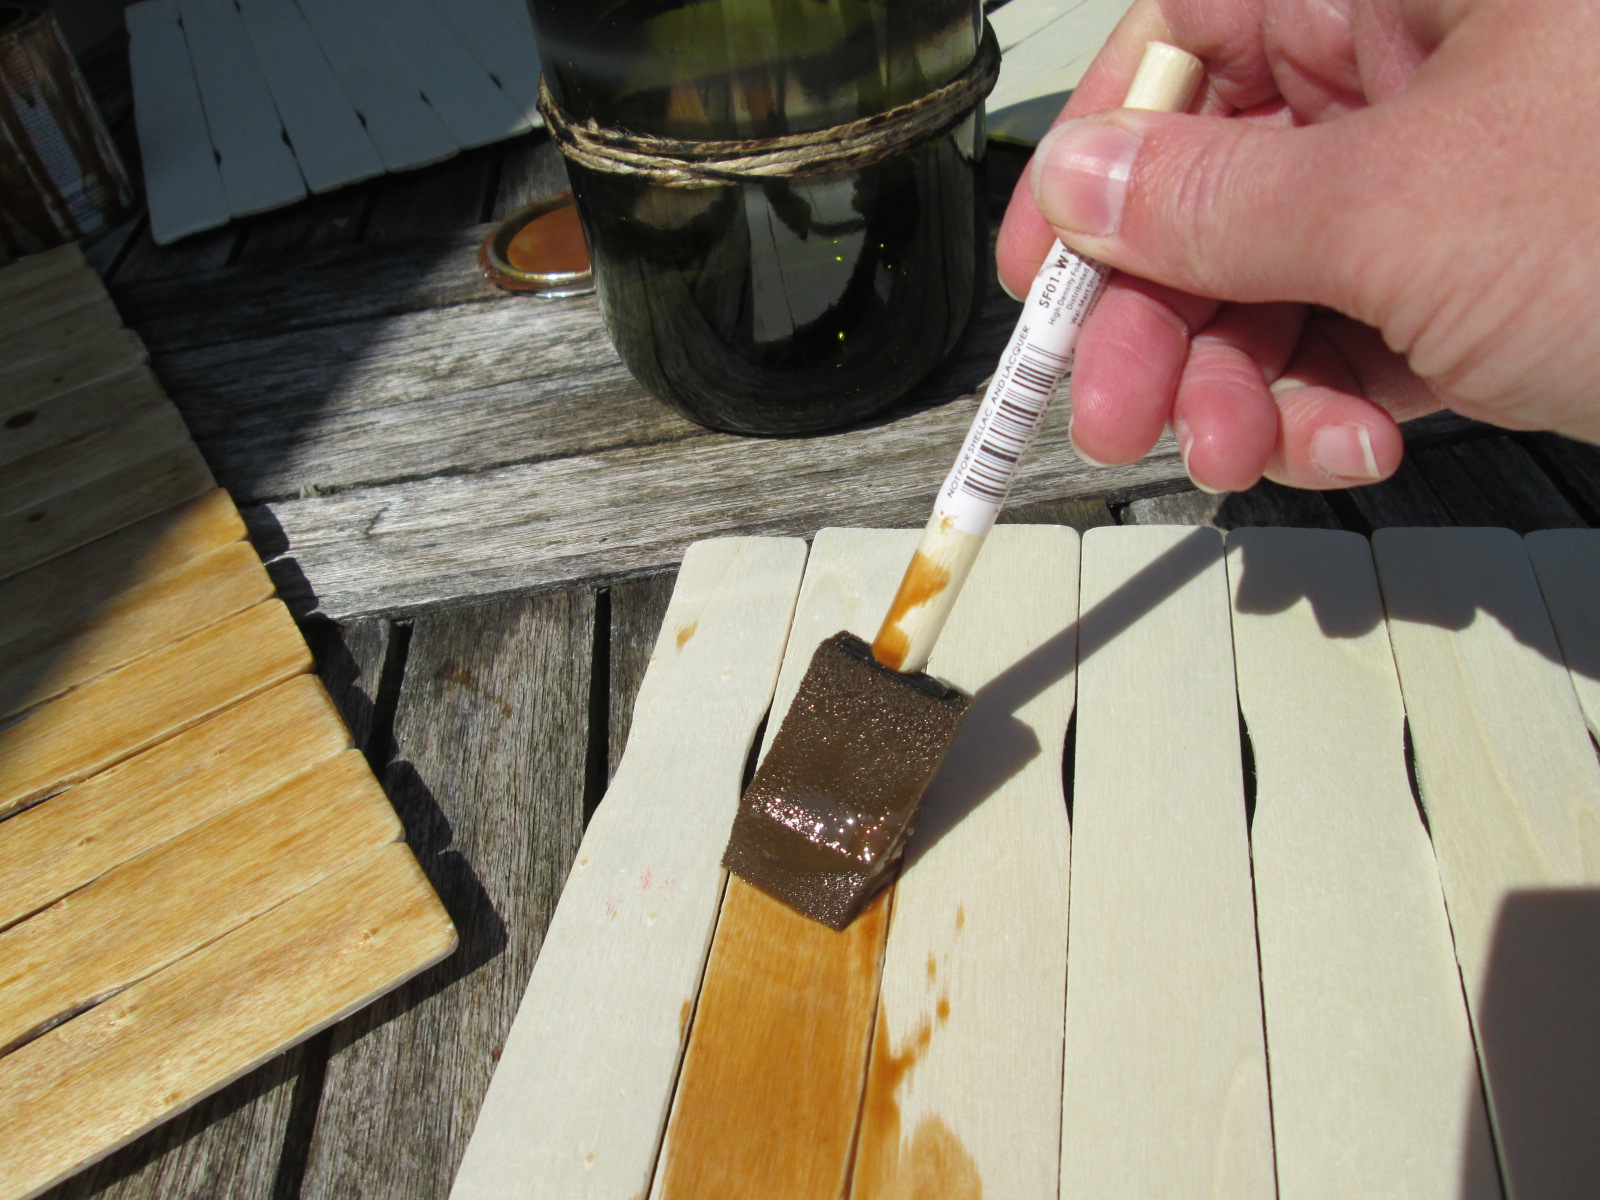
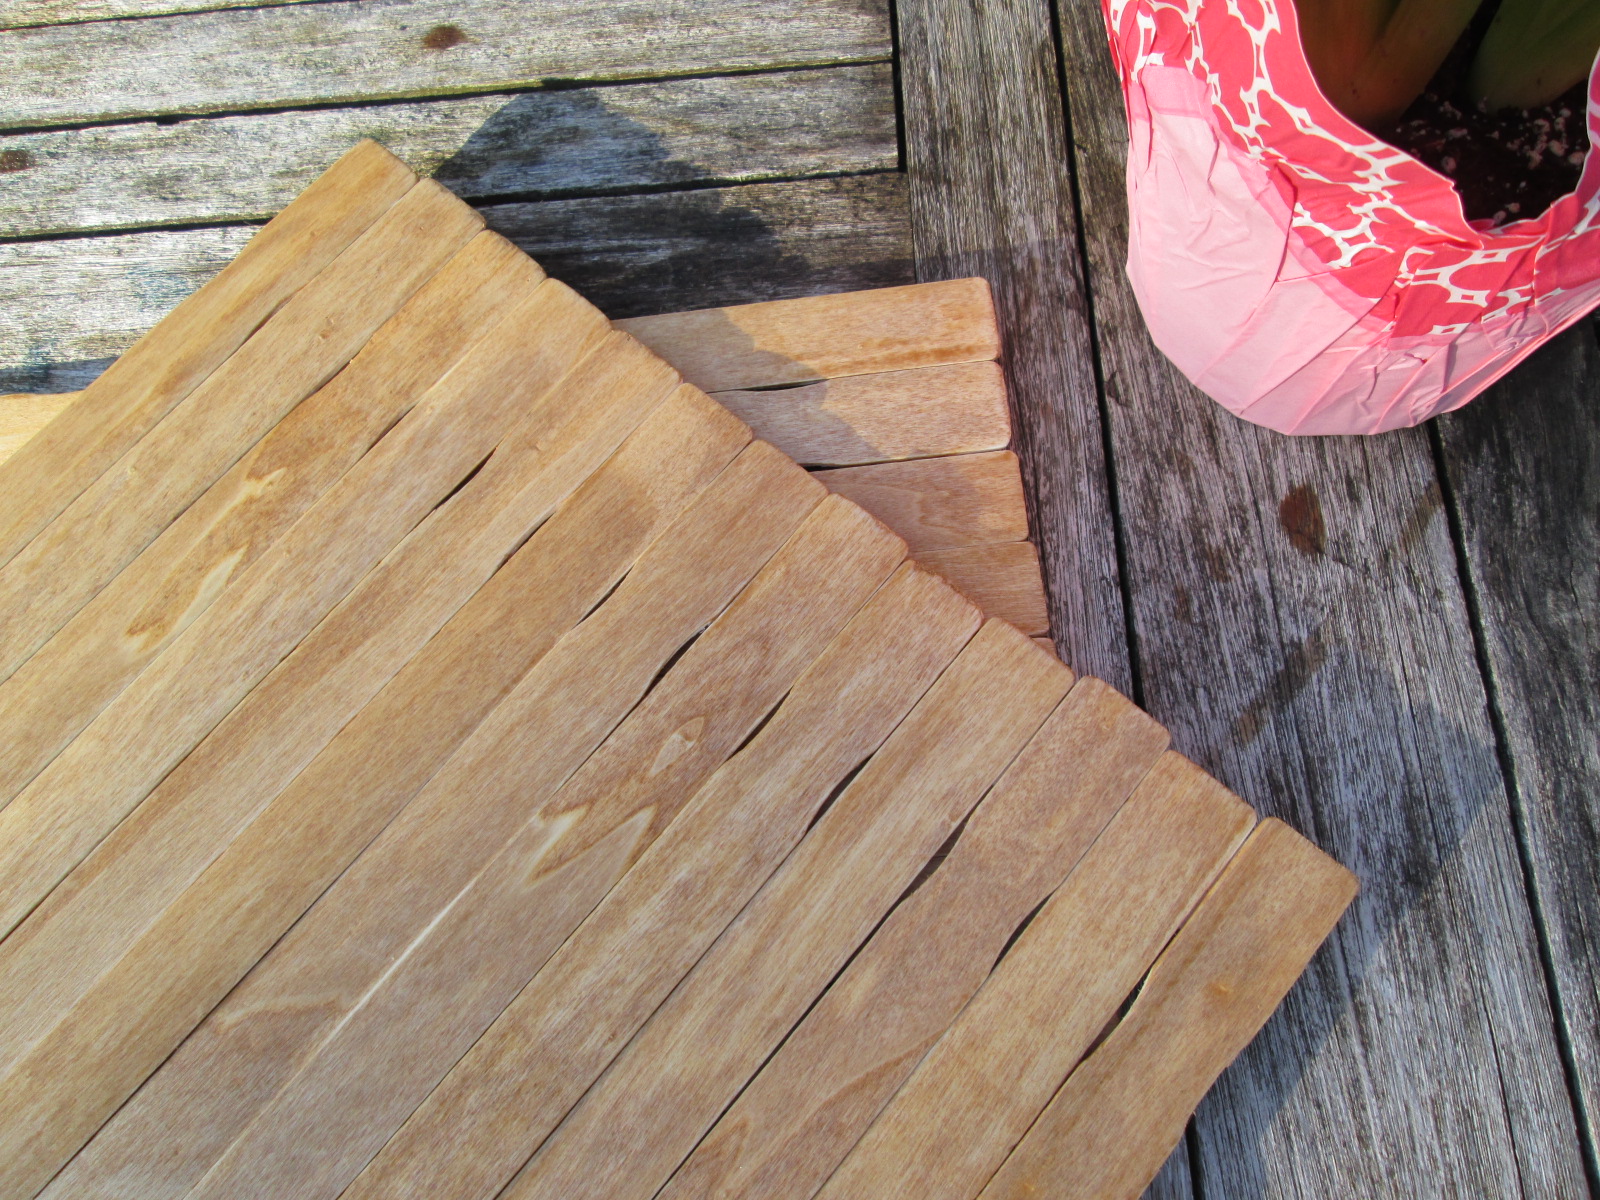
Step 3: Stain or paint the top of your placemat. Boom! You’re done!
I hope you like this project and it spruces up your spring table. Just in case you are wondering, I did stage our deck table with two desserts (above) and then ate them both for breakfast. See, this blog helps everyone!
Also, if you’re curious about the art I was going to make before I got sidetracked with the placemats, check out my last picture. I’ll write more about that next time. Until then, enjoy your day and go invent your story!
